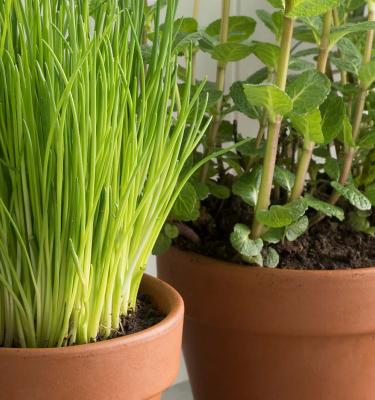
The Ultimate Beginners' Guide to Growing Herbs
Herbs are some of the easiest plants to grow, and the most delicious. Grow them in the garden, on a windowsill or in pots and take your cooking to a whole new level. Growing herbs is simple, it’s choosing which ones to grow that‘s the tricky part!
To make it easy, we’ve got all the basics covered:
- Types of herbs
- Choosing your herbs
- How to plant and grow herbs
- Growing herbs in pots
- How to harvest herbs
- Preserving your herbs
Types of herbs
Herbs not only provide the chef with delicious fresh flavours, they also look great too! Grow them in garden beds, borders, pots and window-boxes and take your cooking to a whole new level. If you give your herbs the best possible start you’ll be rewarded with loads of produce and very few pests or problems.
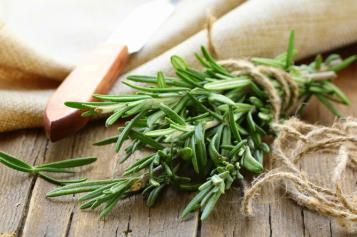
There are two main types of herbs: annual like basil that grows and dies within the same year and perennial such as rosemary which is a woody shrub that lives for many years.
- Annual herbs have a specific growing season. Buy them as seedlings in Spring or Autumn and harvest a little at a time until they start to flower. When they flower, they are about to go to seed and die so harvest the whole plant and preserve (see below).
- Perennial herbs become a staple in the garden, always on hand when you need a sprig or leaf to flavour up a soup, stock or casserole. They need annual pruning and applications of controlled release fertiliser in Spring and Autumn.

Choosing your herbs
Don’t get caught up in the hype - grow only those herbs that you will use. It’s easy to get excited at the nursery and grab four different kinds of mint, only to take them home and have them take over your garden ... and you don’t even use any of them!
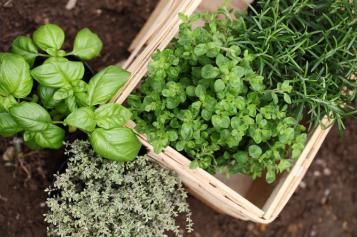
Start with the herbs you use most like rosemary, oregano, basil and thyme and then, when you notice another herb that you often use, add that to your fresh food pantry too.
How to plant herbs
To plant and grow herbs in the garden, you will need:
- Trowel and/or shovel
- Garden gloves
- Potted herbs
Step 1
Prepare your soil:
Improve your soil prior to planting with organic matter: Scotts Performance Naturals™ Soil Improver or Scotts Osmocote Plus Organics Vegetable & Herb Mix. To learn more about improving your soil and preparing for planting, refer to Starting your patch from scratch.
Step 2
How to plant:
a) Choose a growing position with at least six hours of sunlight per day and enough room for the herb to reach the mature size listed on the label.
b) Water the potted herb prior to planting.
c) Make a planting hole large enough for the herb and its entire root ball.
d) Carefully tap the herb out of the pot.
e) Check the roots and gently tease out if necessary. If you can see lots of roots circling around the base of the pot, use a knife to make three to four shallow vertical cuts at the base of the root ball to encourage the roots to grow out.
f) Place the plant in the hole. Make sure it is at the same depth as it was in the pot.
g) Backfill around the plant, pressing the soil down firmly.
h) Water generously with Scotts Osmocote® Pour+Feed Vegetables, Tomatoes & Herbs to settle it in.
Step 3
Keep your herbs healthy by:
- Improving the soil not just prior to planting, but with annual applications of compost and soil improver each year. Read more about improving your soil here.
- Watering regularly, especially when they have just been planted. Always water the soil and not the foliage.
- Applying slow release vegetable and herb fertiliser every season to keep plants healthy.
Growing herbs in pots
To plant and grow herbs in pots, you will need:
- A pot, container, hanging basket or trough
- Premium potting mix for vegetables and herbs
- Trowel
- Garden gloves
- Potted herbs
Step 1
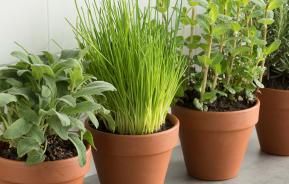
- Choose a decorative pot large enough for your mature herb. More info on choosing the right pot.
- Choose a Premium potting mix designed for vegetables and herbs. Always look for the Australian standard tick.
- Water the herb prior to repotting.
Step 2
- Fill a clean pot with potting mix.
- Make a hole in the centre of the potting mix large enough for the herb's entire root ball.
- Carefully place the herb in the hole, making sure the plant is at the same depth as it was in the previous pot.
- Backfill around the herb, pressing the mix down firmly.
- Water generously with a solution of Scotts Osmocote® Pour+Feed Vegetables, Tomatoes & Herbs to settle it in.
Step 3
Harvesting:
Most herbs are best picked frequently. Pinch out the growing tips to encourage bushier, compact growth and to reduce the likelihood of annual herbs running to seed. It’s best to harvest just before use for maximum flavour and freshness.
Preserving your herbs
Herbs are best used fresh from the garden, but there are times when you may need to preserve them.
There are several ways to preserve your herbs:
- Dry – either air dry by hanging in bunches upside down or you can use the oven on a very low temp. Store them in a cool, dry environment.
- Freeze – place on baking paper in the freezer and, when frozen, place in snap-lock bags (this keeps the leaves separated).
- Convert – make them into something tasty with a longer shelf-life; turn your excess basil into pesto or transform dill into a delicious sauce.
