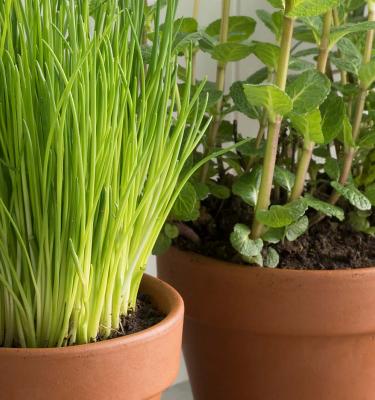
Whether you're starting a plant collection from scratch, or wanting to move a beloved plant into a new pot, knowing how to correctly pot and repot is a must for all plant parents!
There are 6 easy steps that help you reduce transplant shock and keep your plants happy and healthy as you repot them.
When to repot plants
Depending on how actively your plants are growing, most need to be repotted every 12 to 18 months to prevent them from being root-bound. The best time to repot your plants is in Spring when the roots are actively growing, allowing them enough time to settle and grow in the new potting mix and helping reduce transplant shock.
Key signs to look out for:
- Your plant has stopped growing, or is growing at a slower pace than usual
- Plant roots are showing on the surface of the potting mix, growing thick and crowded and/or are growing out of the pot's drainage holes
- The potting mix has dried out significantly and 'slumped' in the pot
- Water is pooling on top of the potting mix and is no longer being absorbed
- The fertiliser in the potting mix has expired (see potting mix packaging to know how long it lasts)
How to pot a plant
Step 1: Gather your supplies
Before you repot, get your plants ready by watering them a few days before to ensure that they are hydrated.
What you'll need:
- Clean pot of suitable size with good drainage
- Scotts Osmocote Premium Potting Mix - explore our range of premium potting mixes to see which one is specially formulated for your plant type
- Hand trowel
- Scissors, secateurs or a sharp knife to trim roots if necessary
- Protective gloves & dust mask
Step 2: Choose your pot
Be sure to pick a new pot that has good drainage and is around 25mm larger than the previous pot. If it’s any bigger then you run the risk of excess potting mix remaining damp, thus leading to root rot.
If you’re reusing an old pot, ensure that it is thoroughly cleaned to remove any traces of old potting mix, roots and/or fertiliser.
Ideally, your chosen pot should have drainage holes, however if not, then use a slightly smaller plastic pot with drainage holes and pop it inside the decorative pot. Alternatively, you can layer the bottom of your decorative pot with pebbles or gravel before adding the potting mix. The aim of this is to create a reservoir for any extra water to pool into and away from your plant’s roots.
Step 3: Start with the best
Place a thin layer of Scotts Osmocote Premium Potting Mix on the base of the new pot (or on top of drainage pebbles) and pack it down gently to remove any air pockets.
Step 4: Repotting the plant
Carefully loosen the plant’s roots before lifting it out from the old pot. If things are a little tight, hold your hand over the top of the potting mix, tilt the pot and gently tap it on a bench to loosen it. You also may need to give it a light tug on the base of the plants stem to get it going.
Once out, loosen the plant’s root ball and brush away any old potting mix, without disturbing the roots too much. Remove any damaged, dried or twisted roots, this will help the plant settle and grow better in its new pot. If you are trimming the roots, it’s important to wipe the blade with rubbing alcohol between each cut to avoid spreading any diseases or bacteria.
Next, place the plant in the centre of the new pot, check that it’s sitting at a similar level as it was in the previous pot. If it’s too low then lift it out and add more potting mix – repeat until it is at the right level.
Step 5: Pour the love
Fill the pot with the fresh potting mix, leaving a 20-30mm gap at the top of the pot. Gently tap the pot to help settle the new potting mix in and around the plant’s roots and to remove any air pockets.
Step 6: Welcome home
After repotting your plant, it is especially important to welcome your plant to its new home by giving it good drink! Monitor your plant closely to see how it is responding to your water schedule and its new environment.


