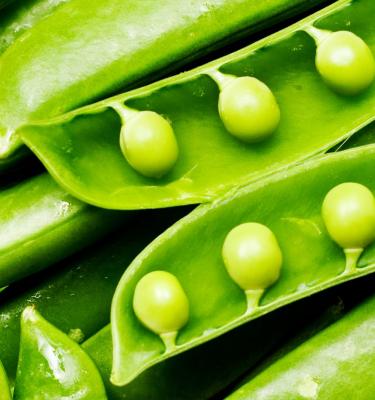

How to grow & care for snow peas
Snow peas are heavy croppers that are easy to grow in home veggie beds or potted gardens. Snow peas flat pods can be eaten pod and all, and they are delicious raw or cooked and because they are sweet and crunchy they are a kids favourite!
Snow peas are best grown in the cooler months of the year, so any season except summer - as long periods of temperatures higher than 25°C will reduce their flowering and cropping.
Snow peas seeds are large, making them easy to handle and great for kids to sow and grow in the garden or pots. Snow peas are best grown up a simple support or trellis as the plants can reach up to 1.5 to 2.0 metres tall.
Top 5 steps to growing snow peas
- Choose a full sun position and set up the support or trellis structure before planting. This will avoid disturbing your snow peas roots later on.
- Improve the soil before planting by adding compost or Scotts Osmocote Compost Premium Soil Improver and fork it through the top 20-30cm of the soil, breaking up any soil lumps as you go.
- Direct sow snow peas seeds into dampened, prepared soil. Sow seeds at the base of your support or trellis - allowing 7-15cm between each seed.
- Snow pea seeds will germinate in 7-10 days and will be ready to harvest 8-12 weeks from planting, depending on your climate and the variety you’ve chosen.
- Slugs and snails are a big problem for young snow pea seedlings. Sprinkle Defender Slug & Snail pellets around to keep your crops from attack.
Shopping List
- Snow pea seeds or seedlings
- Scotts Osmocote Compost Premium Soil Improver
- Scotts Osmocote Plus Organics All Purpose (including Natives) Plant Food & Soil Improver
- If growing in pots, Scotts Osmocote Plus Organics Premium Potting Mix and a suitable pot
- Garden trowel
- Defender Slug & Snail pellets
- Mulch
Prepare
Choose a full sun spot for your snow peas and set up a simple bamboo poll support structure or wire trellis for them to climb up as they grow.
Enrich the soil before planting snow peas with Scotts Osmocote Compost Premium Soil Improver, dug through the top 10-20cm of soil. Water the soil or potting mix before planting to make it damp, but not soggy.
Growing from seeds
Sow snow pea seeds directly into the prepared bed or pot you want them to grow in. Plant them at the base of your support structure, approximately 2-3cm deep and with 7-10cm between seeds. Cover the seeds with soil or potting mix and don’t water them again until they’ve germinated in 7-10 days.
Fertilise with a light sprinkle of Scotts Osmocote Plus Organics All Purpose (including Natives) Plant Food & Soil Improver once the snow peas seedlings are about 10-15cm tall. Mulch around your snow peas plants to suppress weeds and retain moisture.
Growing from seedlings
Snow peas can be grown from seedlings - simply plant the seedlings 7-10cm apart into prepared soil or potting mix (if growing in a pot) at the base of a support structure.
Fertilise with a light sprinkle of Scotts Osmocote Plus Organics All Purpose (including Natives) Plant Food & Soil Improver once a few weeks after planting and mulch around your snow peas plants to suppress weeds and retain moisture.
Planting in pots
Snow peas can easily be grown in medium pots at least 20-30cm deep by the same width or choose a narrow trough style planter that’s easy to position up against a trellis for the snow peas to climb up.
Fill the pot or planter with Scotts Osmocote Plus Organics Premium Potting Mix and water it to dampen the potting mix. Sow the seeds approximately 2-3cm deep and 7-10cm apart at the base of your support structure.
Position your pot in a full sun spot and don’t water it again until the seeds germinate in 7-10 days.
Fertilise with a light sprinkle of Scotts Performance Natural All Purpose Organic Based Fertiliser on the potting mix surface once the snow pea seedlings are 10-15cm tall.
Mulch around your snow pea plants to suppress weeds and retain moisture.
Harvest
Depending on the variety of snow peas you’ve grown, you’ll be able to begin harvesting from around 6-10 weeks after planting. Snow peas are sweetest and most tender when their pods are smaller and the peas inside the pods are not overly swollen.
Harvest pods as you need them and eat them raw or cooked. Snow pea shoots, tendrils and flowers are also edible and can be added to salads for pretty pea flavoured garnish.
Pests & Diseases
Slugs and Snails will cause significant damage to snow pea seedlings, particularly when they are very small. Protect your snow pea crop by setting beer traps (saucers filled with beer) or use Defender Slug & Snail pellets.


