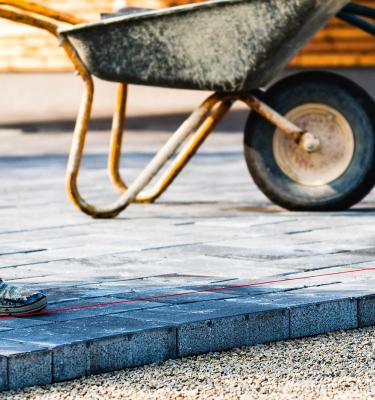
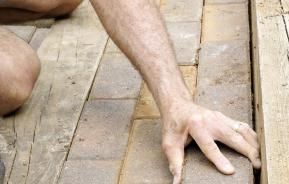
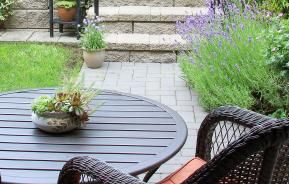
On the face of it, laying a patio can look like a fairly simple task but this task can be quite arduous and labour intensive. However it can be a very rewarding project, especially when you have completed it to a high standard.
There are a few things that you will need to consider when looking to lay your own patio; read on for a ‘how to’ guide that will help you with what you need to know and a step-by-step guide that can turn that garden space into your garden bliss!
Step-by-step guide
Step 1: On paper
After you have decided where to lay your patio, you will need to draw a plan of the area in which you include all of the measurements and dimensions for surrounding landmarks and the proposed patio area.
Anything that is in the direct vicinity of the patio must be marked on the graph paper and make sure it is to scale, of course! If there are any landmarks around the area that could affect the paving then they should be noted as this could affect the levelling of the patio.
If you wanted to lay the patio over two levels then you will need to mark the location of this in reference to the relevant walling and steps. You may also have an idea of how you want to design your patio.
Once everything is planned to a tee, you might want to ensure that you have all the right tools for the job.
Step 2: Preparing the site
You will need to start by laying down pegs and string to mark out the intended area to build your patio. You will then start to dig an area to a depth of around 15cm in which you will need to remove any previous turf or plants or even current paving that you have in place.
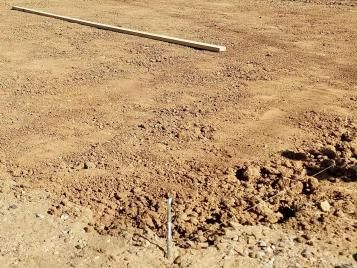
After digging this area, use a spirit level to check the area for weak spots in the soil. Big clue for this would be if there are footprints left in the soil. You should consider laying down more soil to ‘compact in’ to level this area out so that you do not have a sinking patio!
You will then need to lay some sub-material or ‘hardcore’ down which will provide the foundation for your patio. This material is available from all good builders’ merchants. You will need to ensure that you level the hardcore with a plate compactor to around a depth between 5-8cm.
Step 3: Preparing the paving slabs
The laying of the paving slabs would not be considered tricky, but the handling and the cutting may be a different story. Depending on the design of your patio, there will be differing shapes or styles of paving that would vary in difficulty to cut and design. If you are looking to design and cut you own paving then I would suggest buying a disc grinder and following the correct safety protocol when using such equipment. If there is not a lot of cutting of the paving to be done then a hammer and chisel would suffice.
Step 4: Getting to work with laying the bedding mortar
Before laying the paving down you should put down a layer of bedding mortar that can act as a land stabiliser and this can actually hinder weed growth.
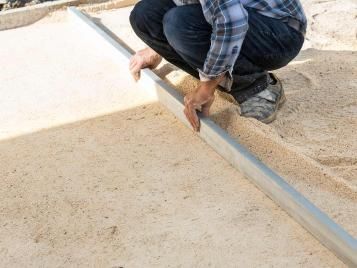
The bedding mortar should consist of five parts building sand to one part cement which will act as the bed on which to lay your paving stones. This layer should be at the depth of around 5cm on top of your hardcore.
Some things to consider:
- If the patio is being laid next to a wall then you should ensure that patio is 15cm below the damp proof wall so that rain doesn’t bounce off and hit the wall.
- Patio drainage and how important it is to consider this for run off areas.
- Remember that shady or damp areas of the patio may start to accumulate algae, mould and green slime which will need to be treated with a patio cleaner.
Step 5: Laying the paving
After cutting your designed paving slabs, you should ensure that the first piece you lay down is perfectly aligned with the string guideline. Use blocks of wood and a hammer/mallet to align and lay your paving slabs in line.
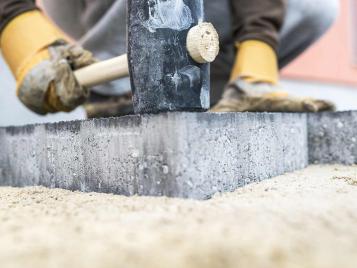
Make sure you leave a gap of 1cm for joint lines. Perhaps plywood would be a good idea to correctly keep this space between your slabs. Using a spirit level make sure that your patio is level. Also, if you are laying the patio right next to the house then try and incorporate a gentle slope away from the house.
Step 6: Wait 24 hours
Do not step on the paving stones for 24 hours after laying down the patio.
What you will need to do then is to fill in the gaps between the paving slabs. You can fill these gaps in with dry sand or alternatively you can use patio grout which would be a similar functioning product to the grout you would use on your kitchen or bathroom tiles. Again you should make sure that all of the joints are smoothed over and finished in a neat fashion.
