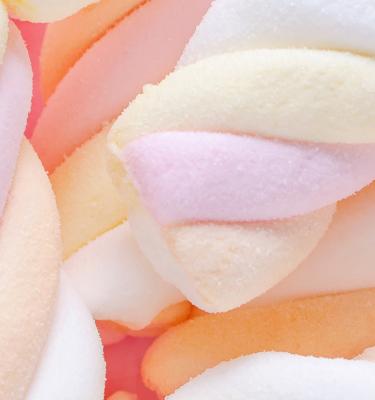
Nothing is quite as special as a personally made Sweet Tree to decorate your table or display. Children love it and it gives your table a real wow factor. And the great thing about Sweet Trees is that you can pick and choose your colours and sweets so that they match your other decorations, theme or even your guests’ particular sweet fancy! Birthdays, weddings, Easter or Christmas, a Sweet Tree is an inexpensive and easy to make a decoration for any occasion. You could even make one for your a loved one as a Christmas gift!
Materials you’ll need for your sweet tree
- 1 wooden dowel about 20cm long – you should be able to get these at a craft shop or builder’s merchants.
- 1 Styrofoam ball about 14 cm in diameter – you’ll find them at a good craft shop.
- 1 ball of oasis – you’ll find these at garden centres, florists or a craft shop.
- A small pot – a flower pot is great but make sure your oasis fits inside it.
- Glue and sticky tape.
- Sweets of your choice but marshmallows are great if it’s your first time. You may need more sweets than you think so make sure you buy plenty. About 80 should do it depending on size.
- Toothpicks.
- Ribbons.
- Tinfoil, wrapping paper or tissue – choose the colours or style that you prefer.
Making your sweet tree
Preparing the base
Step 1
Decorate your pot if needed. You can use tissue or wrapping paper or just a ribbon if you prefer. Secure your decorations with a little glue or sticky tape.
Step 2
Fit your oasis ball into your pot. You will probably need to cut it in half but make sure it is fitted securely in.
Step 3
Push your dowel gently but firmly into the Styrofoam ball. About 1.5 – 2 cm should do it and then remove and leave on one side. Make sure the hole is central so that when you assemble your tree it isn’t lopsided or it will fall over.
Decorating your sweet tree
Step 4
Now decorate your dowel and Styrofoam ball. Wrap your ribbon around your dowel - diagonally works best - and then secure at both ends with glue. When the glue is dry and secure you can insert your dowel into the Styrofoam ball and the oasis. To decorate the ball, wrap it neatly in tin foil or tissue and secure with a little glue if necessary. Don’t forget you are going to need the hole you’ve made for your dowel.
Step 5
If you are very adventurous, you could try melting some chocolate in a pan and coating your Styrofoam ball with it, using a pastry brush and leaving it overnight to dry.
Now add the sweets!
Step 6
Now the fun part. It’s time to decorate your ball with sweets, using the cocktail sticks to secure the sweets. You may find that breaking the sticks in half works best using the sharp end to pierce the sweet (especially if your sweets are in wrappers). You may also find it easiest to work your way down from the top until you’ve covered the whole ball. Try and keep your sweets close together so that there are no gaps and don’t eat too many as you work.
Step 7
You might also want to put some sweets in the top of your pot and around your dowel. This is optional but can help hide the oasis as well as look great.
Add the finishing touches to your sweet tree
Step 8
Finally, you might want to finish off your Sweet Tree with a ribbon or other finishing touch.
If your Sweet Tree is a bit wobbly once you’ve completed it, you can add a little water to your oasis but be careful not to get the sweets or any of the wrapping or ribbons wet.
And there you have it, a unique and very personal centrepiece for your table and event and something to nibble on afterwards.
Some ideas for your Christmas sweet tree
As Christmas approaches why not make a unique and festive Sweet Tree? Choose sweets to match your Christmas tree decorations, so if for example your tree is decorated in red and gold baubles, choose sweets in red and gold wrappers. Or you can choose any colour combination which you prefer.
Quality Street are ideal for this and the children will love picking off the sweets when the festivities are over! Decorate with a sprig of Holly or a Christmas bow and if you decide to use chocolates to decorate your tree, you could even sprinkle them with a little icing sugar through a sieve to give the impression of snow.
We’d love to know how you get on with your Christmas Sweet Trees so when you’ve made them why not share a photo with us @LoveTheGarden.


